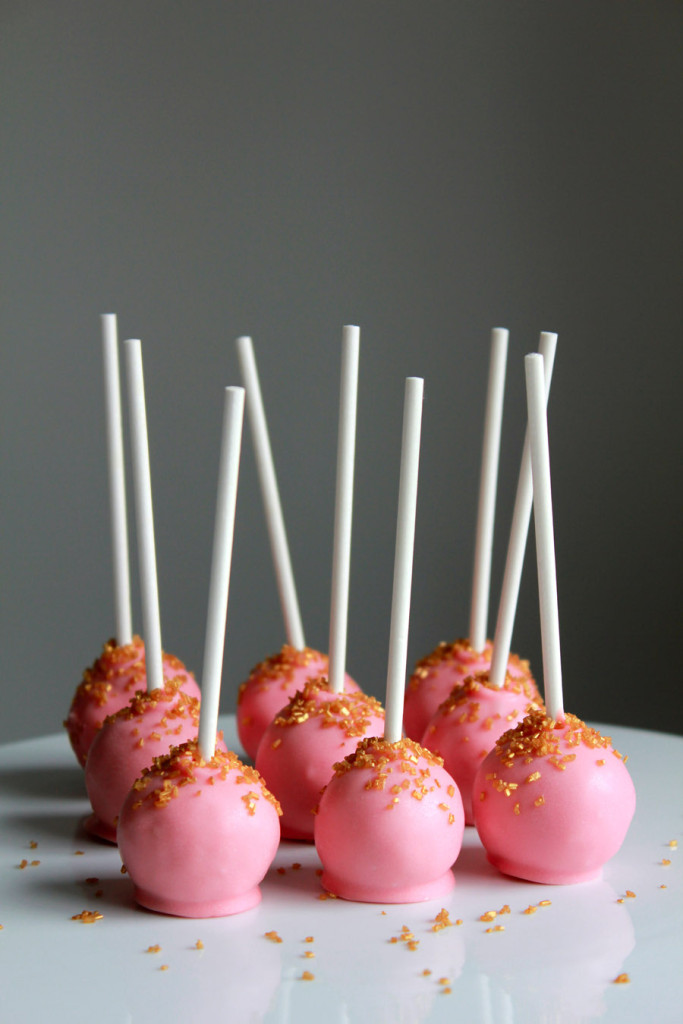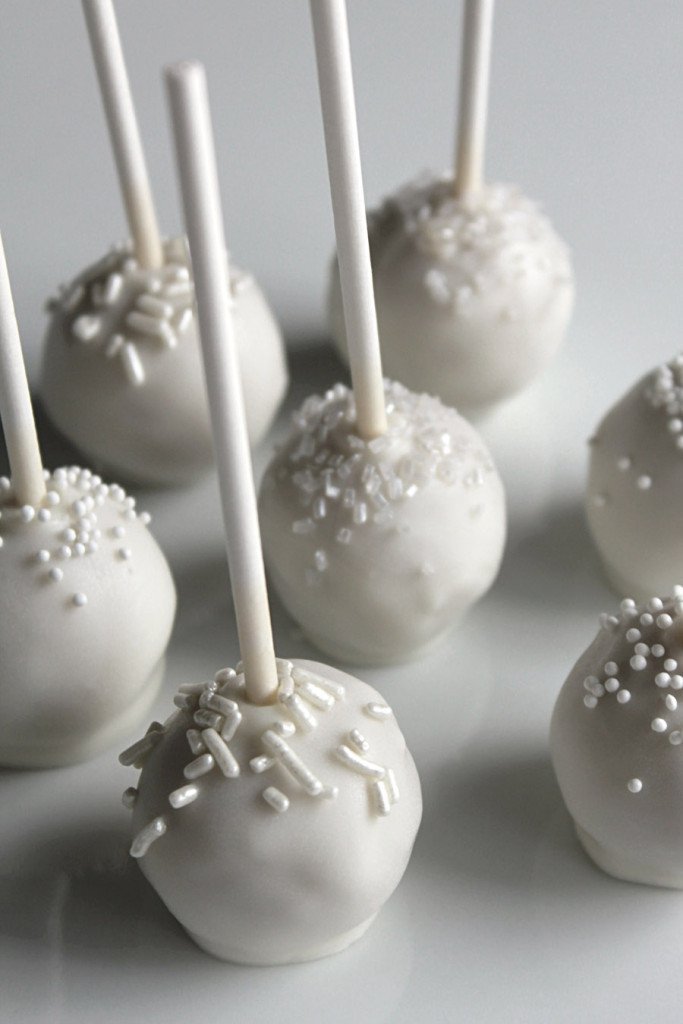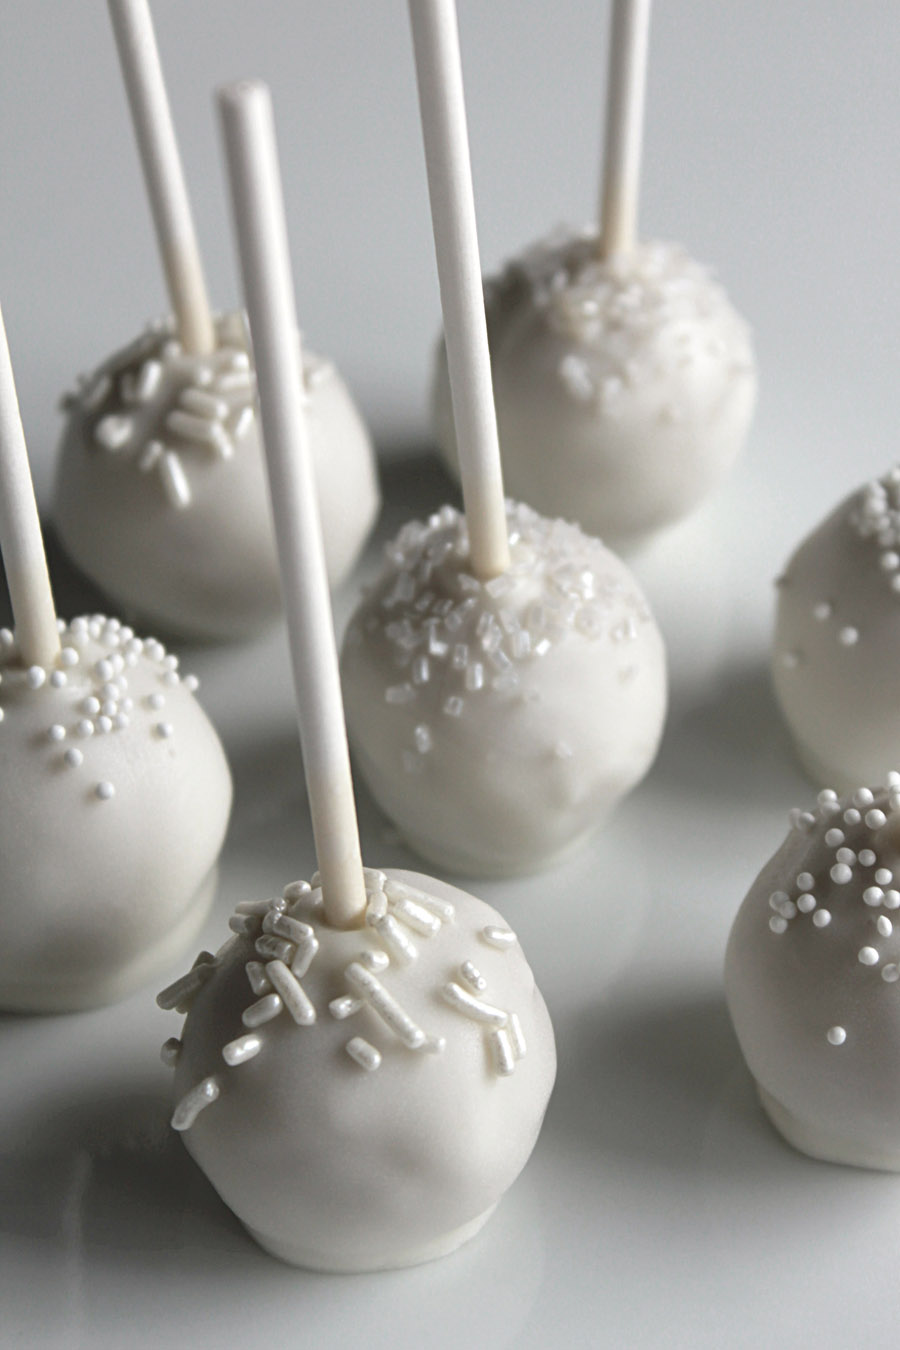
I’ve been on full gear working on cake pops lately because of a highly-anticipated family wedding. I am preparing these cuties for the bridal shower, and also creating some fancy ones as wedding favours.


Being said that, I haven’t turned myself into a veteran yet. I think I need to drill on more decorating ideas. However, having gone through some trails and errors, I have a pretty good feel about how to make your cake pop base successful. And this is extremely crucial. Without a solid base, any fancy decorating ideas would go to waste.

Cake – Basically any cake works. You can go ahead to make your favourite chocolate cake, red velvet cake, or even cheesecake. For other flavours, like lemon, strawberry, earl grey or lavender, etc, my suggestion is to make your basic vanilla cake, and work on your frosting to create the flavour. The advantage of this is you can create different cake pop flavours out of one batch of cake baking.
Frosting – The recipe below is a basic vanilla buttercream frosting. If you are making different flavours, just divide the buttercream into equal portions and mix in your preferred flavouring (lemon juice, strawberry puree, Espresso, or flavour extracts).
Chocolate Coating – I use Wilton Candy Melts. I’ve heard about using white chocolate. I tried, but it didn’t work as good as Candy Melts. White chocolate tends to melt in room temperature easily, and it doesn’t harden as smooth and nice as Candy Melts.
Cake and Frosting Portion – Too much frosting, your cake pop will not taste like cake, but a ball of soggy dough, and it will fall off the stick easily. Too little frosting, the cake pop will fall apart easily. If you follow my recipe below, you will need 1 or 1 1/2 buttercream. I gradually add the frosting to the cake crumbs, and mix until it just forms dough consistency.
Chilling – It’s an important step before your put the stick in to avoid the cake ball falling down. Also your cake pops will have to be chilled before dipping.
Cracked Coating – One of the common reasons is because the cake ball is too cold before dipping. It expands when it hits the warm chocolate. Don’t work with frozen cake balls. Allow the frozen cake balls to rest in the refrigerator for a day. Leave them in room temperature for a few minutes before dipping.
Oil Leaking – When melting chocolate, try to avoid mixing too much as it will create air bubbles. What happens is the oil from the cake ball will try to escape through the air bubbles from the chocolate coating. Pop the air bubbles with a toothpick when the coating is warm and liquidy. Another solution is to eliminate oil while baking your cake. I’ve tried to completely omit the butter from the below vanilla cake recipe, and it turned out fine!

Ingredients (about 45 pops):
Vanilla Cake
1 1/4 cups all-purpose flour
1 teaspoon baking powder
1 teaspoon baking soda
1/4 teaspoon salt
1 stick unsalted butter, softened
1 cup granulated sugar
2 large eggs
1/2 cup milk
1 teaspoon vanilla extract
Frosting
1 stick unsalted butter, softened
1 cup powdered sugar
1/2 teaspoon vanilla extract
1 tablespoon heavy cream
Others
1 bag chocolate Candy Melts
Sprinkles of your choice
Directions:
To prepare cake, preheat oven to 375F. Grease and line an 8-inch square cake pan.
In a large bowl, sift flour, baking powder, baking soda and salt. Mix well.
In the bowl of an electric mixer fitted with the paddle attachment, cream butter on medium-high speed, until light and fluffy. Gradually add sugar and continue to beat until well combined and fluffy. Reduce the mixer speed to medium and slowly add eggs until just blended.
With the mixer on low, slowly add half the flour mixture; mix until just blended. Add the milk and vanilla extract, mix until just blended. Slowly add remaining flour mixture, scraping down sides of the bowl with a spatula, as necessary, until just blended.
Pour batter into the prepared pan. Transfer pan to oven and bake for 18 to 20 minutes. Let cake cool in pan for 15 minutes. Then invert it onto a greased rack. Let cool completely.
To prepare buttercream, beat butter for a few minutes in a standing mixer with the paddle attachment on medium speed. Add powdered sugar and turn your mixer on low, beat until the sugar incorporates with the butter. Add vanilla and heavy cream, beat on medium speed for another 3 minutes, or until buttercream becomes light and fluffy.
To assemble cake pops, prepare two cookie sheets lined with parchment paper.
Break the cooled cake into a few big trunks by hand, place them into the bowl of an electric mixer fitted with the paddle attachment and mix on medium speed until the big pieces turn into crumbs.
Add frosting gradually into the cake crumbs and blend until the mixture becomes a dough, about 1 to 1 1/2 cups of frosting.
Use a small cookie scoop, roll dough into evenly sized balls and place them on the prepared cookie sheets. Refrigerate for 30 minutes.
Melt chocolate Candy Melts in the microwave gradually, 10 second intervals and stirring in-between. Dip one end of a lollipop stick in the chocolate and insert into the cake ball. Repeat with the remaining cake pops. Refrigerate again for an hour.
Prepare sprinkles in shallow bowls.
Remove cake pops from the refrigerator. Melt chocolate Candy Melts again in the microwave. Dip each cake pop in the chocolate and gently tap off excess. Place onto a piece of wax paper. Scatter sprinkles immediately and let it dry completely. Repeat with the remaining cake pops.

17 comments
This blog post offers a wonderful exploration of Cake Pops, showcasing inventive ideas and helpful tips to elevate these delightful treats. For those seeking Custom Cake Pops that truly stand out, look no further than Candy’s Cake Pops! You can Order Cake Pop Online effortlessly from our website at Candy’s Cake Pops. Our handcrafted pops are perfect for adding a special touch to any event or simply satisfying your sweet tooth.
They came out perfect! First time making pops and it was a great success! It took exactly 20 minutes to cook and it tastes really really good!!! I wish I could add photos. Thank you!
You are so welcome, Olga! :)
I loved these!!! I made them with all different neon colors for an 80’s themed party. Great recipe!!!
Hi Fanny, I was making these cake pops yesterday for today’s party. Love Love Love how they turned out! It was my first time making cake pops, and I am so glad that I found your recipe. Thakns for sharing. Merry Christmas! :)
This recipe sucks. It took 40 minutes to fully bake, not 20 minutes. I think you need to review the recipe. It seems as though there’s too much liquid and not enough dry ingredients.
Hi Liz F, maybe you can try to divide the batter into two cake pans. Last time I tried to use one cake pan, it took me another 5 to 8 minutes to fully bake the cake.
Hi,
I made the cake exactly as the recipe is written. I checked for doneness at 20 minutes and when I moved the rack to pull it out it all jiggled (it was still like liquid raw). I baked another 5 minutes and checked and it was still jiggling. I added another 5 minutes. It was still semi-raw in the middle and at this point the outside was totally dark brown. Anyone else have this issue? I am positive I followed the steps correctly and measured everything properly and baked at 375.
Hello
they are cute. I would like to ask how much Crisco do you use for a candy melt bag in order to get these great cake pops.
thanks
brgds
Teo
Hi, Teo, I don’t use shortening. I know some people use shortening to thin out the chocolate for easy coating. I just keep mine warm enough, so it don’t get harden.
the white cake pops are just lovely.
I love white sprinkles.
Thanks, Vanillasugarblog. :)
Buy Merkens chocolate, it.will eliminate all off you candy coating problems, or get paramount crystals.
I thought i had tried and failed enough to give up ( 8 out of 10 of them cracked on the coating). Now after reading your tips, i think i will give it one more chance. Lol! Thanks!
Yeah, Erica, give it a try. Hope this time works perfect for you. :)
Gosh! The white ones look so good. So perfect for weddings!! Should put them on those bridal magazines!
Thanks, Karin. :)